When we decided to give the bedrooms a makeover because of Mike’s wedding at the end of June, Steph decided to call around and get some quotes for the floor refinishing. Some of the prices we got for the three rooms were so outrageous there was no way we could afford it considering we have to replace the roof and windows. So, I decided I was going to do it. Much to my surprise it was not as difficult as it seems.
I sanded by hand on my knees used an orbital sander. Instead of using the little bag attachment to catch the dust, my wet / dry vac comes with attachments that allow me to connect the hose to the sander. Since I am deaf as a doorknob without my ears, ear protection was never an issue. Not one speck of dust made it out of the room. Steph was happy about that!
I used #60 and #80 grit paper, the kind that clings to the sander disk. One disk was sufficient for a 10 foot by 2 foot pass. Since #60 is coarser than #80, it allowed me to get the job done faster. But in any case, either grade is ideal for the task at hand. I wanted to sand enough of the surface to remove the top layer of finish as well as any paint spots. Scratches and water marks by the window were left alone. Certain parts such as where there was residual glue from the padding tape required a little more effort.
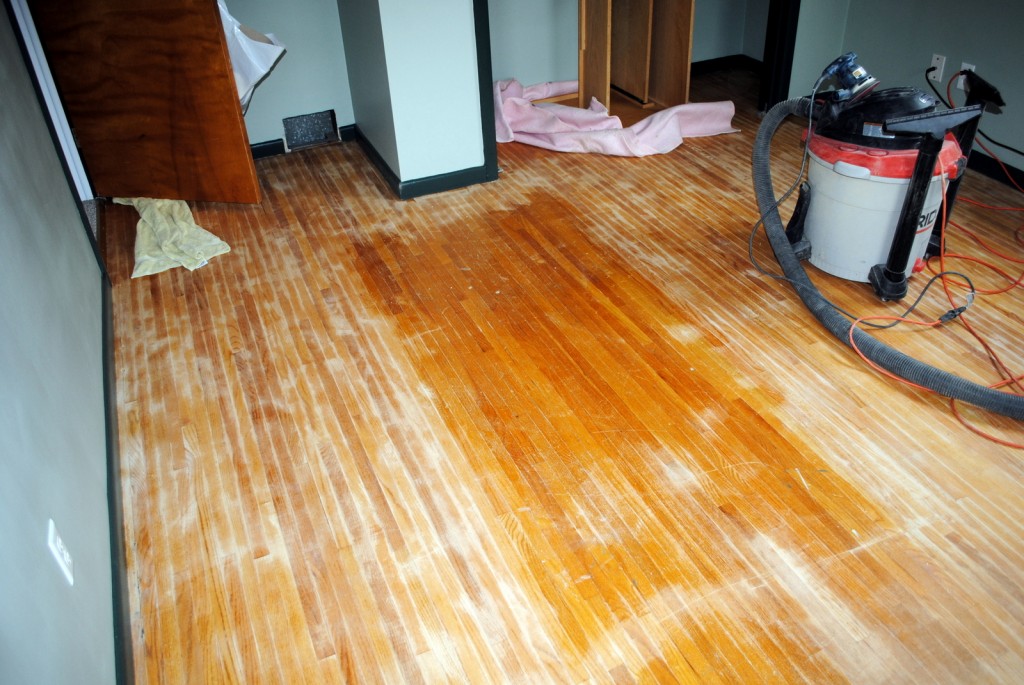
Sanding by hand allowed me to control how much I wanted to take off at any given spot, some more than others. Since the house was almost 60 years old, the goal was to retain as much of the character of the floors as possible. We didn’t want them to be perfect which is what a sanding machine would have accomplished. Also, with a sanding machine you run the risk of taking too much off. Once you do that, you can’t reverse the effect.
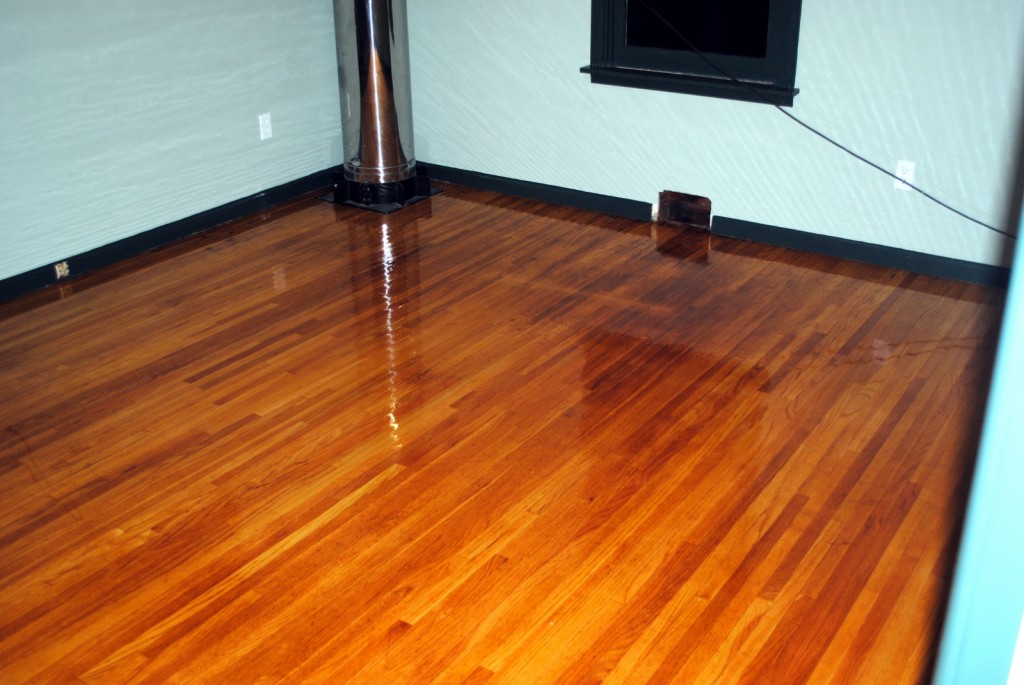
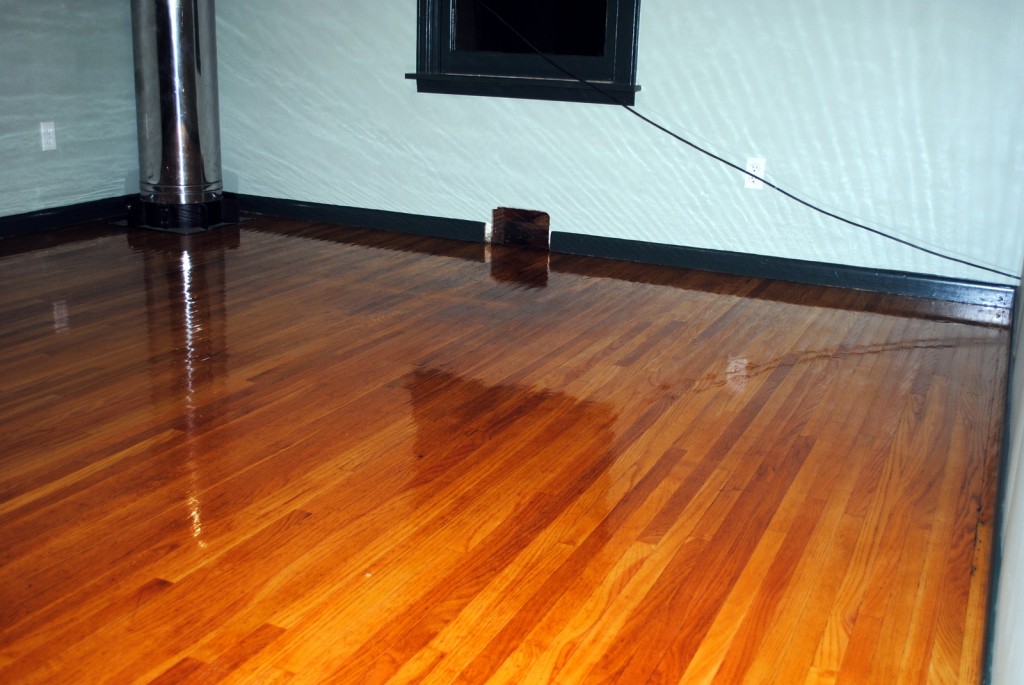
For finish, I used an oil based gloss polyurethane. Let me tell you, that is some STRONG stuff! The positives of using oil over water made it worthwhile; you’ll get a deeper and richer look which lasts much longer. And it is waterproof in case we leave the windows open during a rainstorm. The odor lasts as long as the floors take to dry, roughly 12 hours. Three coats were put down and each coat adds depth and tone.
The floor was vacuumed and then wiped with tack cloth. Two kinds of applicators were used. Along the walls by the baseboard, a standard paint edger did just perfectly. A lambswool applicator was used for the rest of the floor. While you won’t see it in the pictures, you’ll feel various imperfections from the dried micro-bubbles and lambswool lint. This will wear off as the room is being used and after two weeks, the imperfections will be practically non-existent. Total time? 15 hours…12 for the sanding and cleaning up, and 1 each per coat applied with drying time of 12 hours in between.
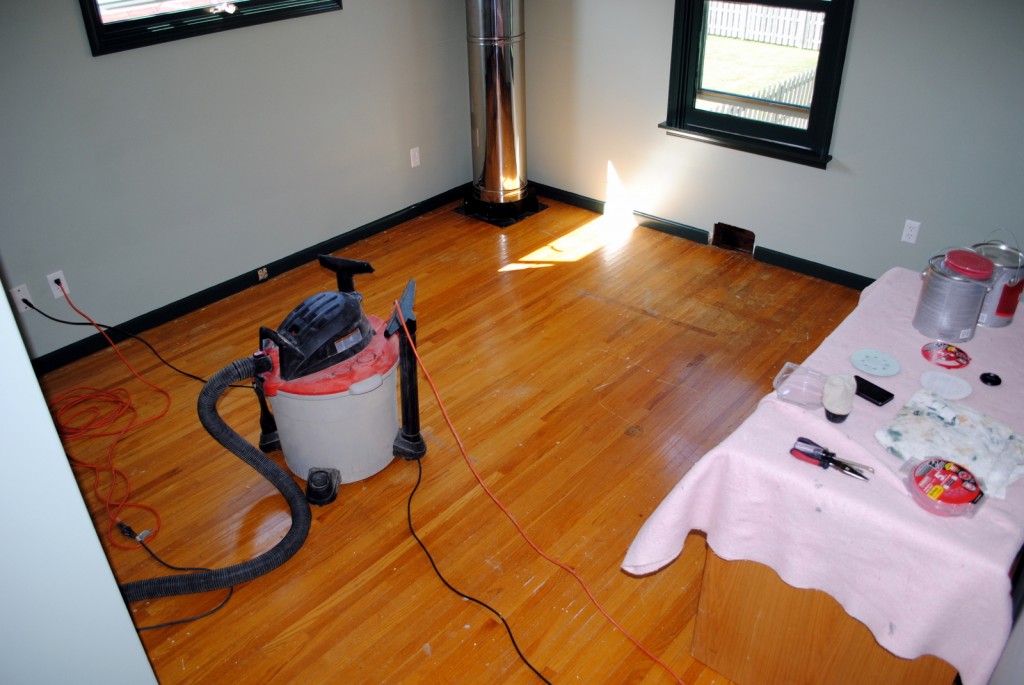
The only thing you don't see is the orbital sander. That is attached to the vacuum hose and out of sight on the left. Otherwise, everything that is needed is on the table on the right.
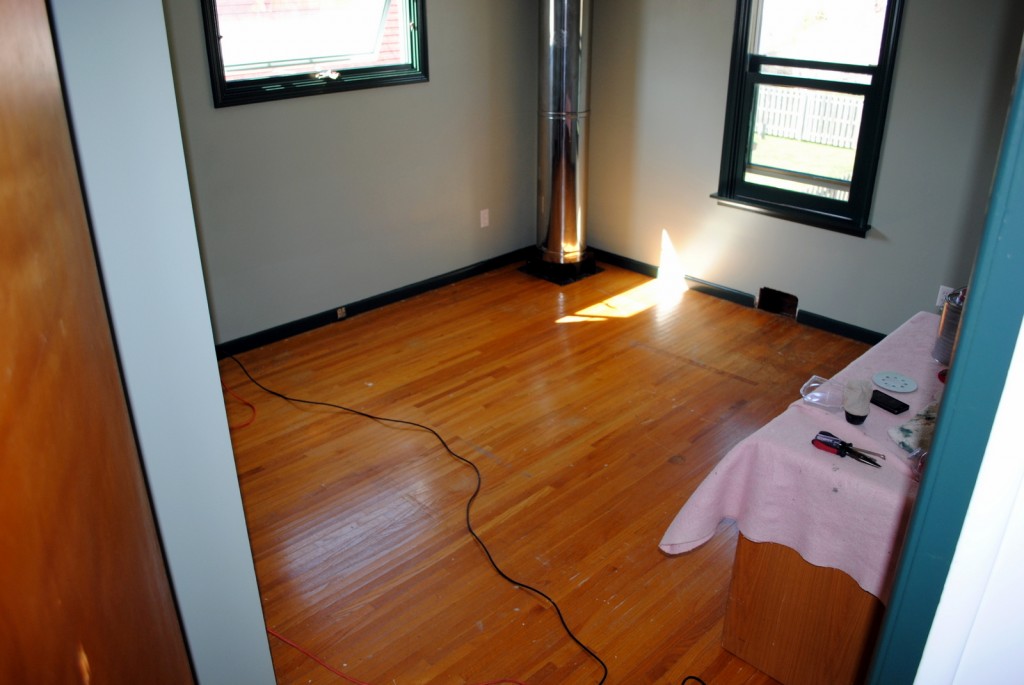
Remember, this floor was carpeted. The padding was held down by 10,000 padding staples. It took a good part of the day to pull them up.
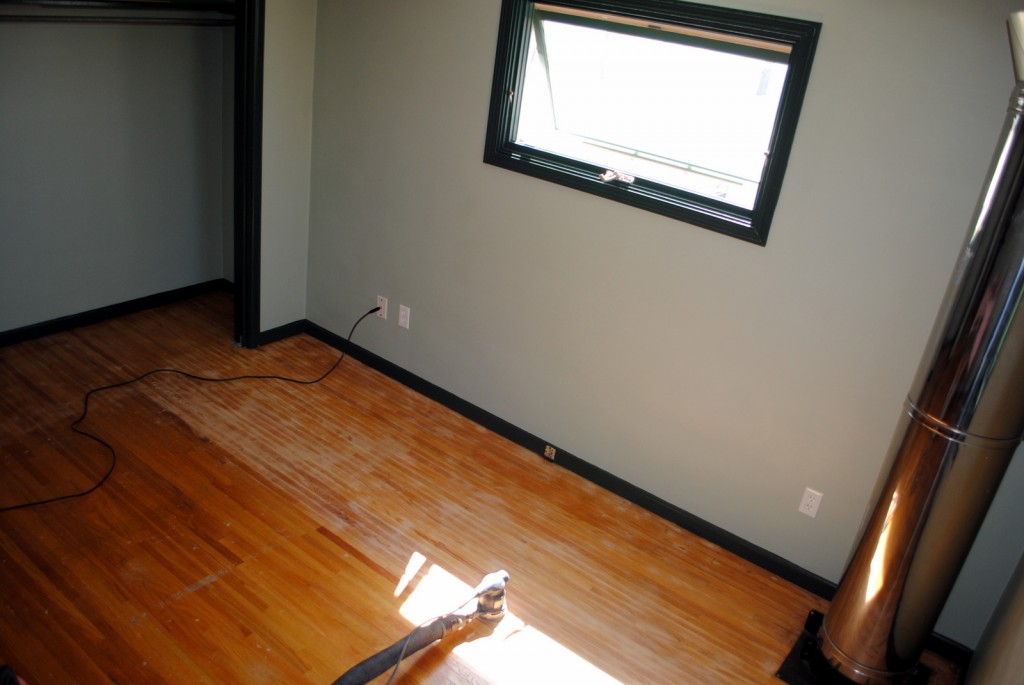
And now we commence the sanding starting with the closet. Then we work our way across the room in the same direction as the planks.
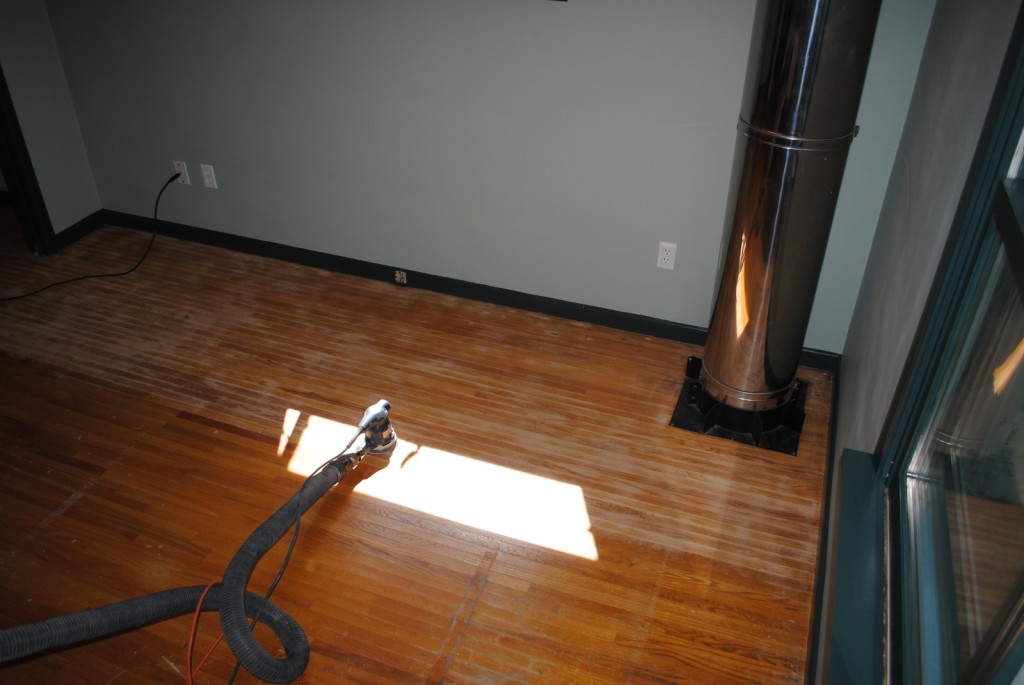
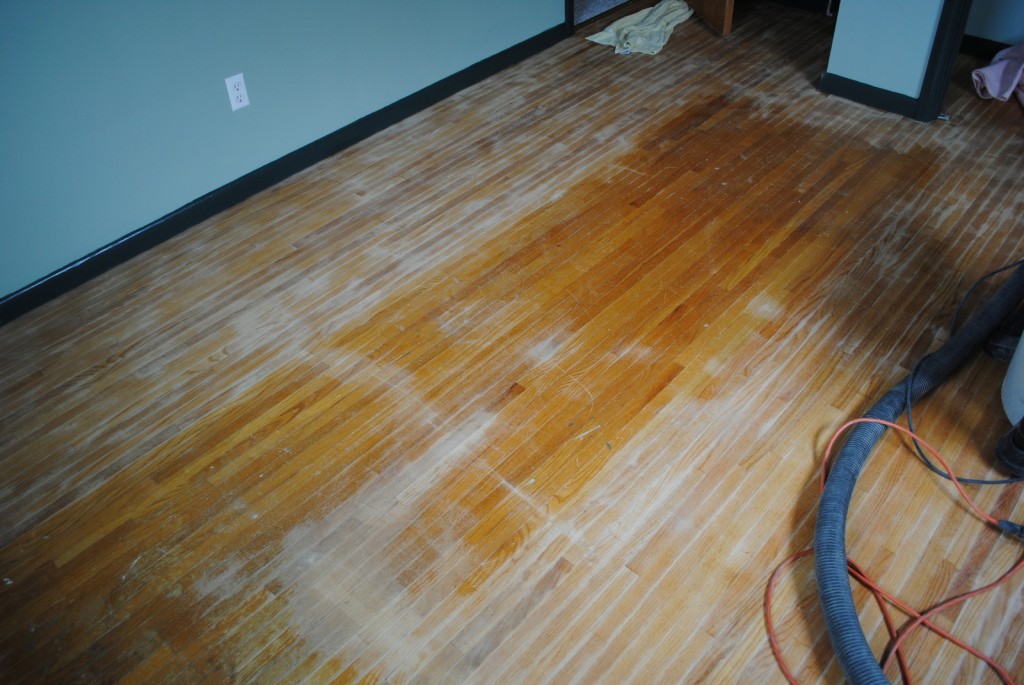
You can see the difference here. The two lines going across the floor on the bottom is the residual glue from the tape used to hold down the padding.
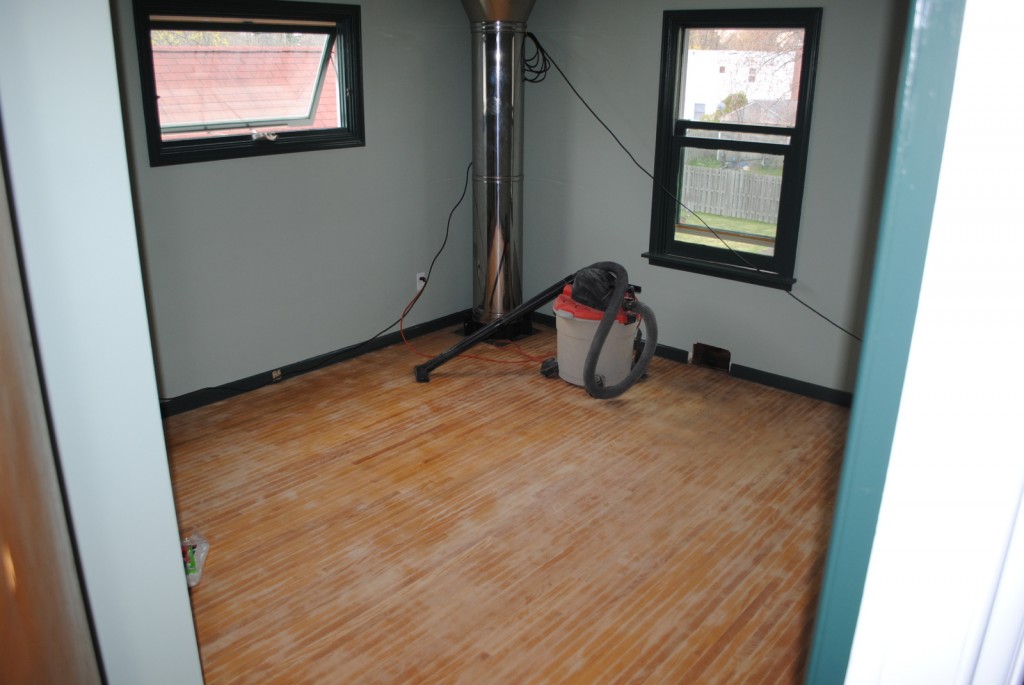
And finally with all the sanding done, we go over the floor with the vacuum. For maximum effect, I used the water squeegee attachment since it contains a rubber membrane.
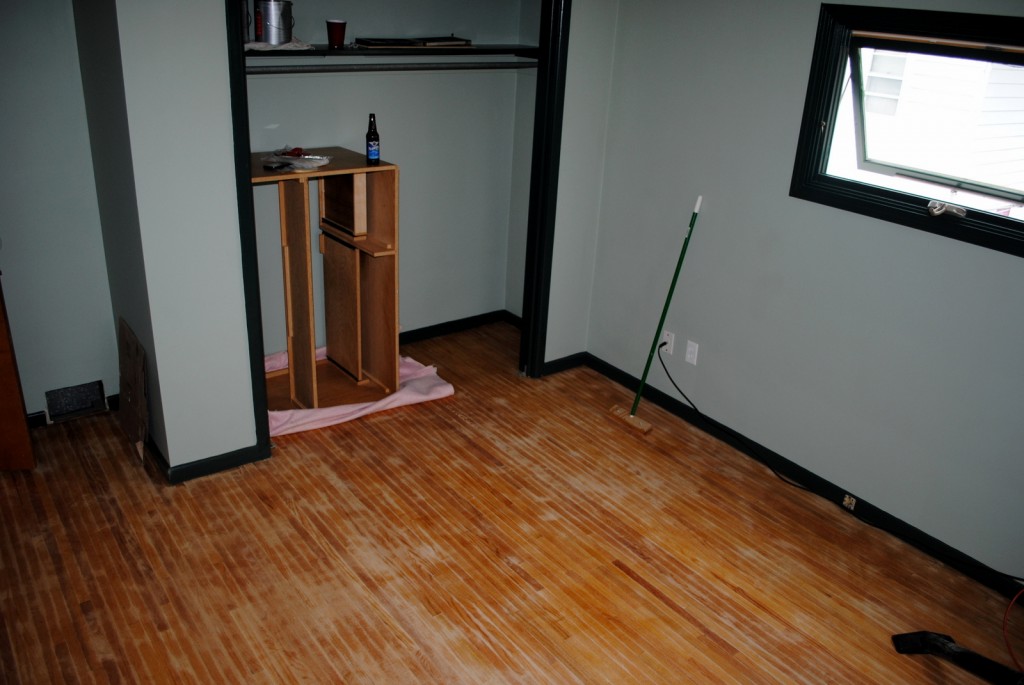
We had to get that one piece of furniture out of the way. The lambswool applicator is leaning against the wall. Notice the sanding is rather uneven. We don't want a perfect floor; just enough to remove the previous layer so that the polyurethane will stick.
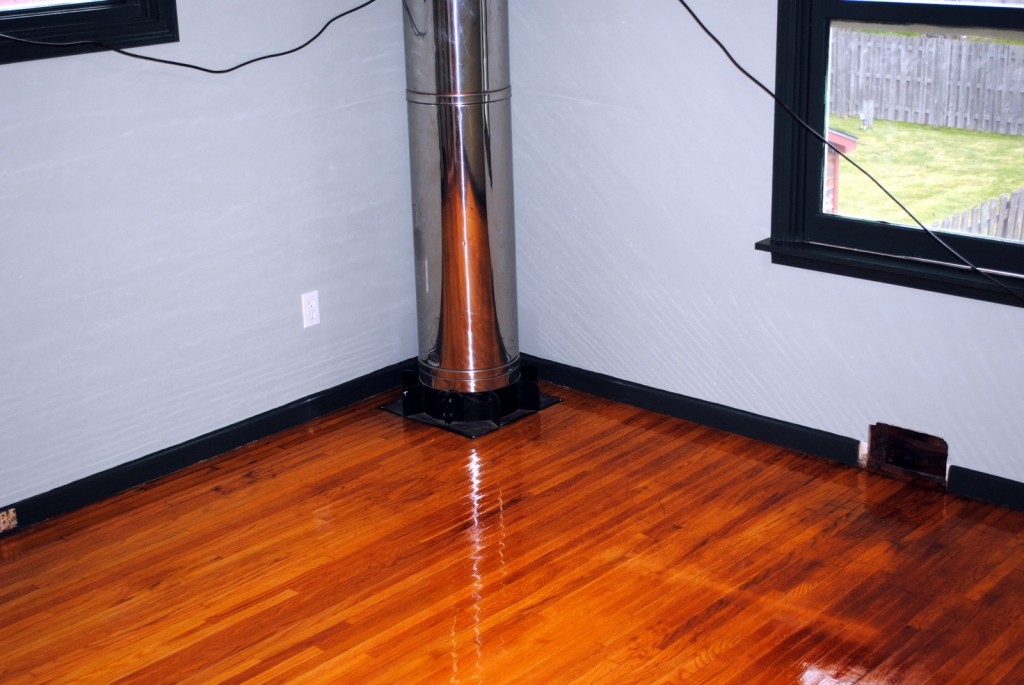
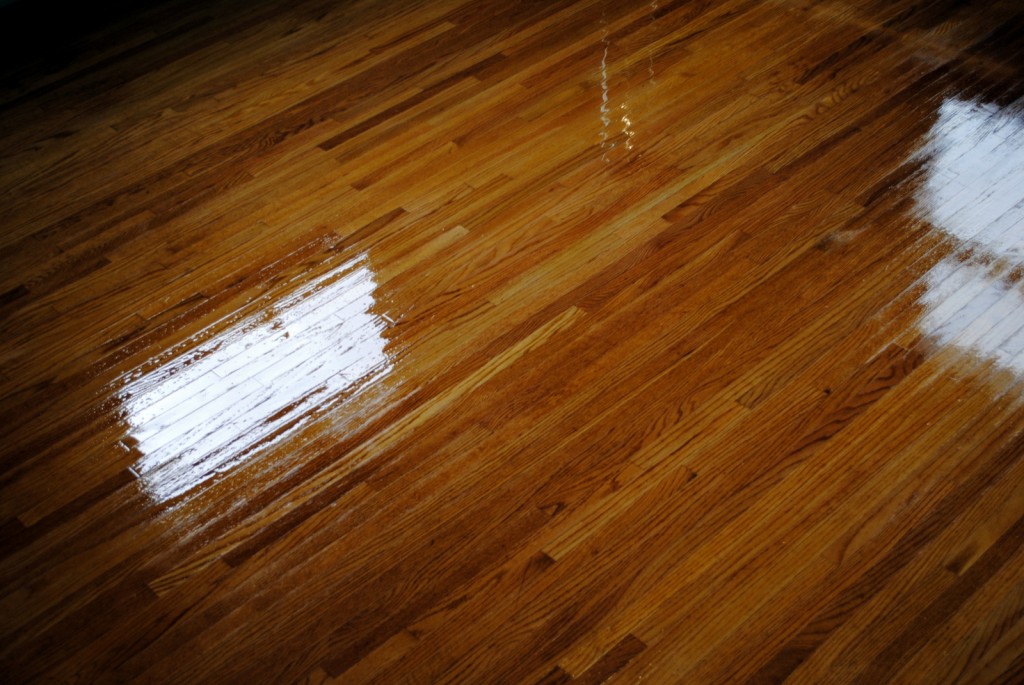
This is the first coat. Notice on the right it is darker and there is a shadow line. That is the padding residual tape line mentioned in previous photos.
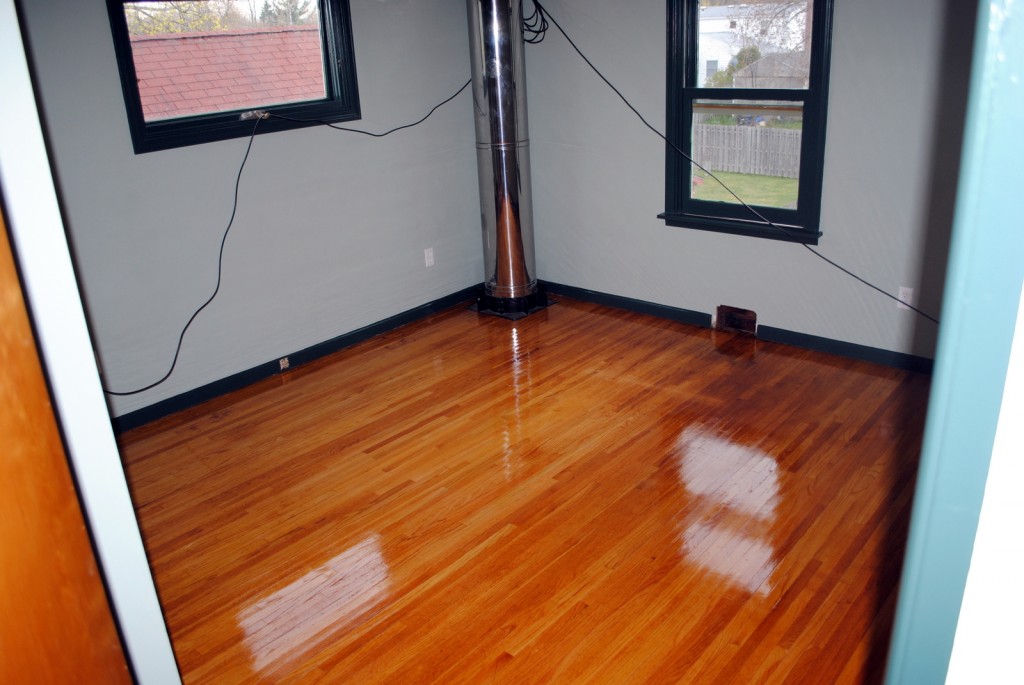
A birds eye view after the second coat went down. Notice how even though the color doesn't change, it gets richer.
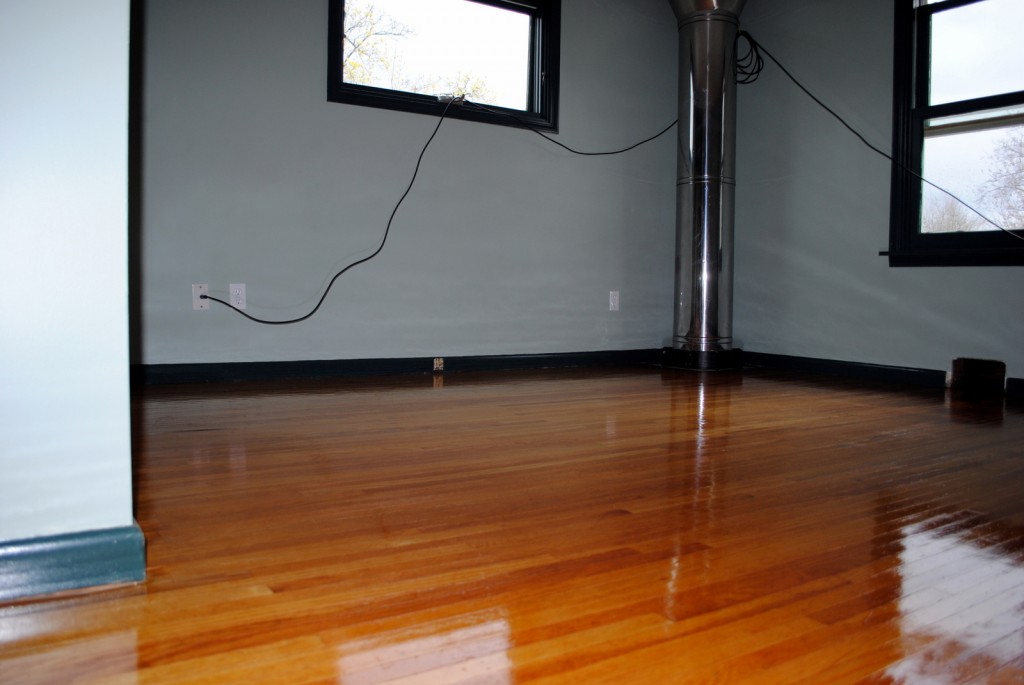
With the floor finally done and over with, next up are the pictures of the room put back together….
You should write a text book on “how to” do all this stuff. You are one detailed man and the results are fantastic. Steph has a built in handyman. will be watching for the next photos when everything is back in the room.