When we bought our house back in 1994, the previous owners left behind a lot of junk one of which was a cupboard. This huge behemoth of a pile of wood with its stark white infirmary looking medicine chest color was more of an obstruction in the kitchen than the purpose it served. So, we just stuck it down in the basement where it served as a storage for Steph’s accumulation of junk.
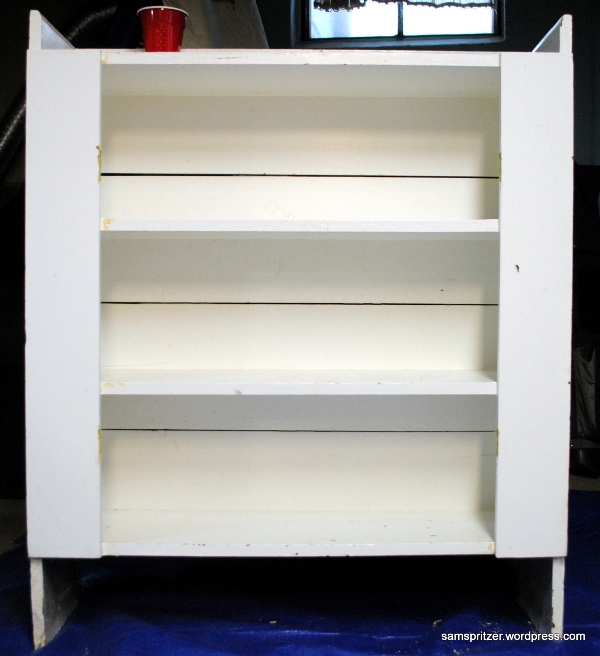
Front view of cupboard
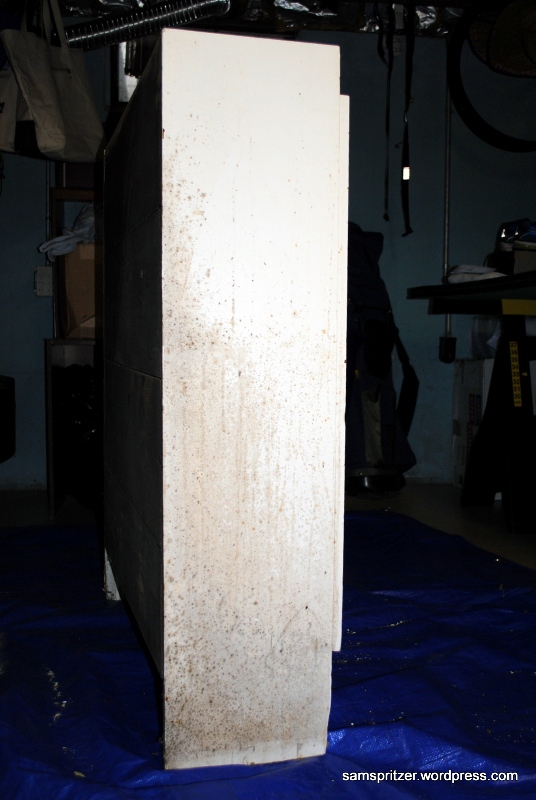
Side view of cupboard
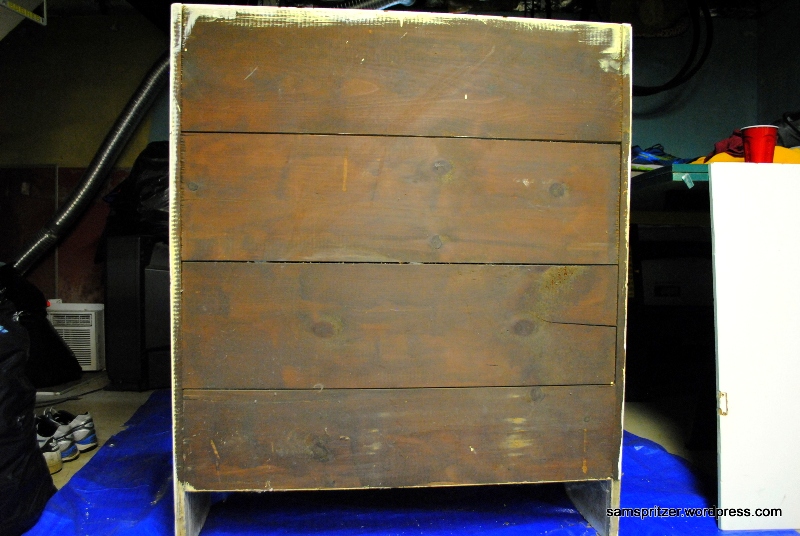
Back view of cupboard – this is the only part that will not be painted
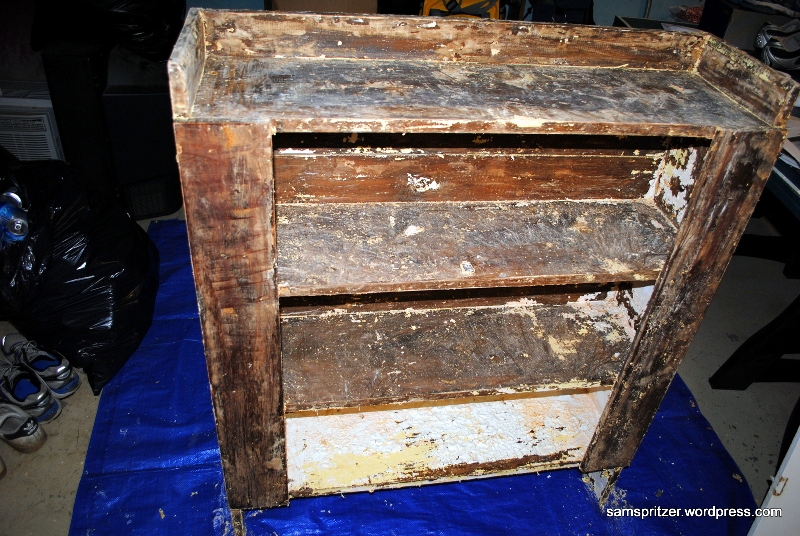
The paint that was on it was a very glossy oil based white. It was so thick that it took a few days soaking of paint stripper. Because this is being done indoors in the dead of the winter, we had to use a stripper that was rated for indoor use. Since I am rather old school and don’t believe in anything other than true and tried solvents, I was skeptical about this product, Citristrip. Let me tell you…the stuff really works….and it smells good!
View of cupboard during paint stripping process

Another view of cupboard during paint stripping process
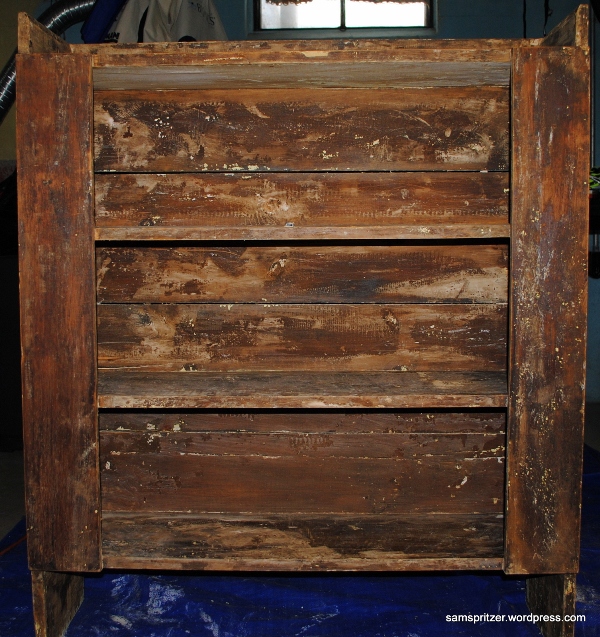
View of cupboard prior to priming and painting
And now a word from our sponsor…..AAA – We’re Here to Get You There!
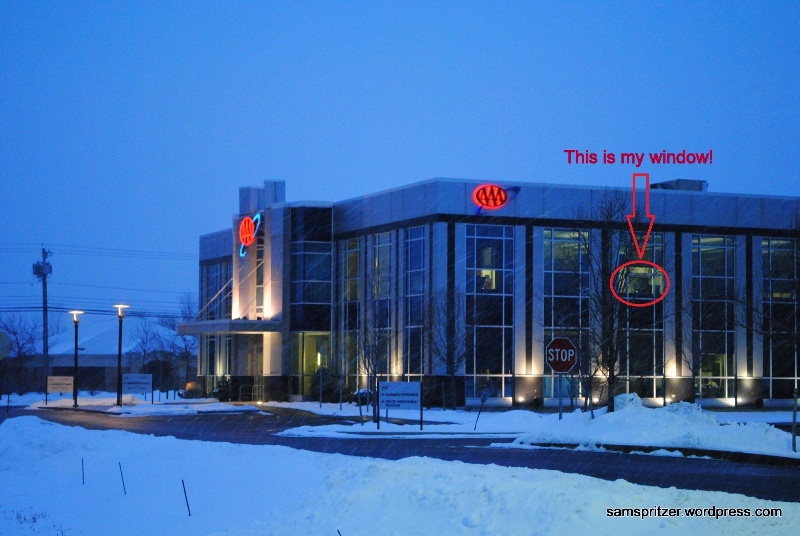
AAA – We’re Here to Get You There!

The view from my window and yes, MY WINDOW!
And back to the little project….
Finally, after some convincing by my sister who has creative “old time” ideas, we were going to go with a barn red color. The closest I could come was terra cotta since at first glance, the barn red was a little too eye catching. I also wanted to make it a color that was not a primary color in the kitchen or dining area namely, green. Gone are the days where everything had to match.
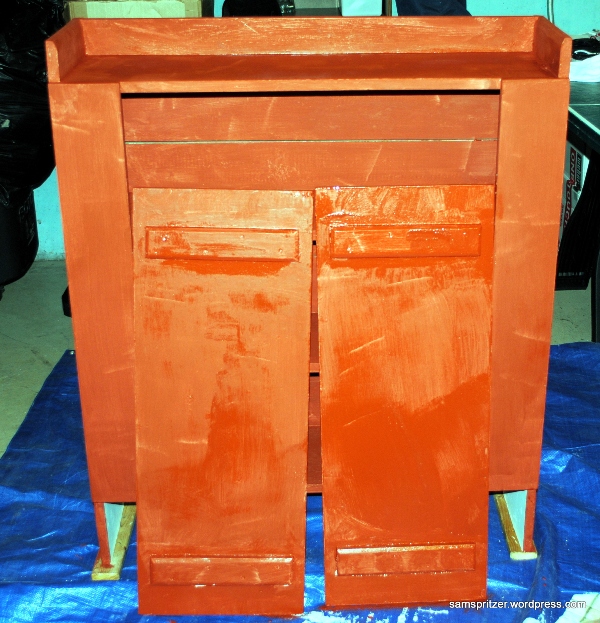
After first coat
Notice it is more orangy than reddish since the paint was applied lightly and it was blended with the still wet white primer which was applied over the slightly wet stripper. The idea is to create an imperfect finish so that it looks old. Not only did I achieve that but I gave it an aged wood look.
First coat of paint
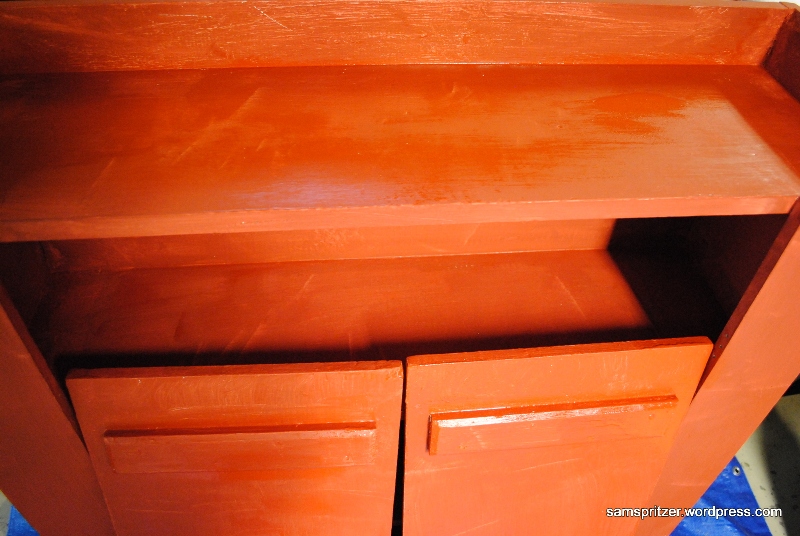
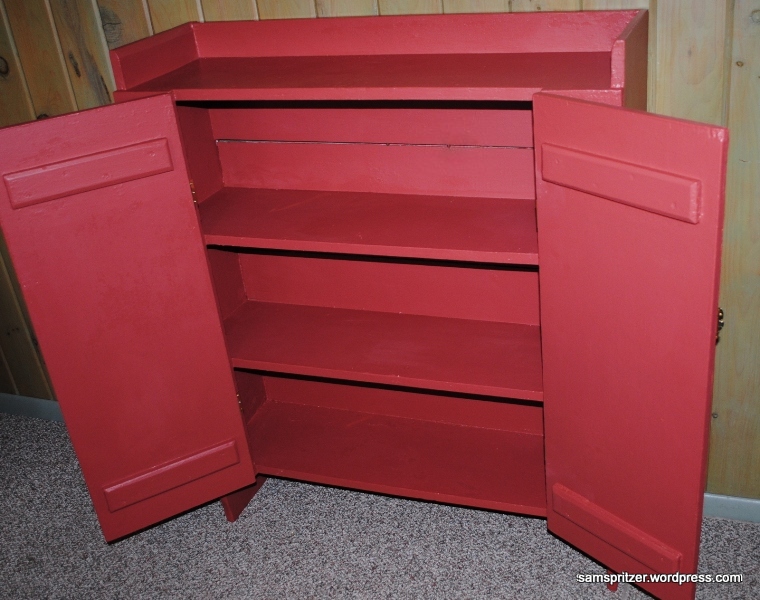
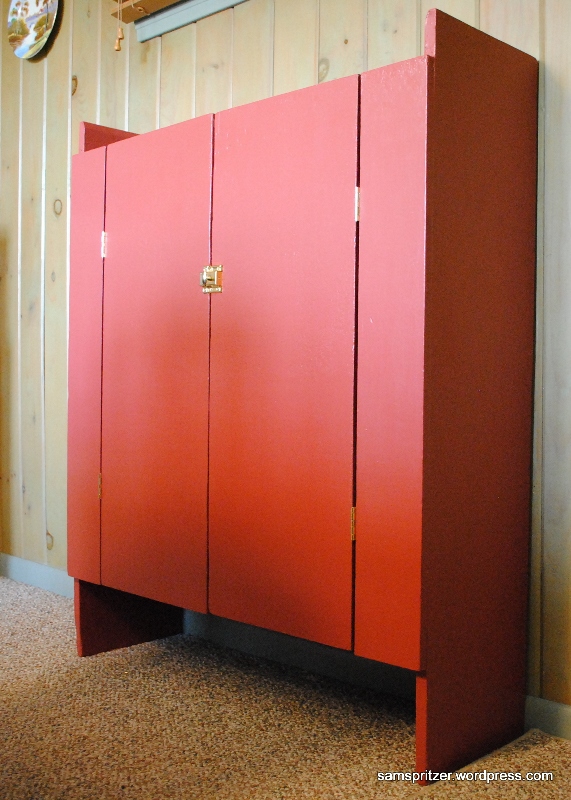
After several coats of paint mainly to seal in the aged cracked look, here is the final result…
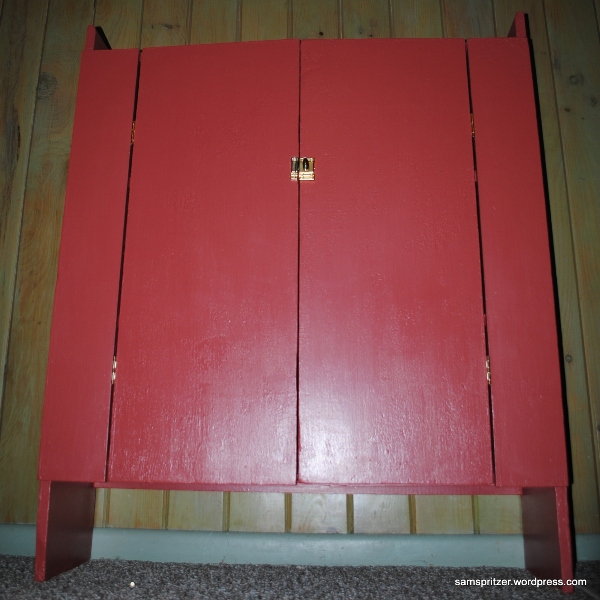
The end result
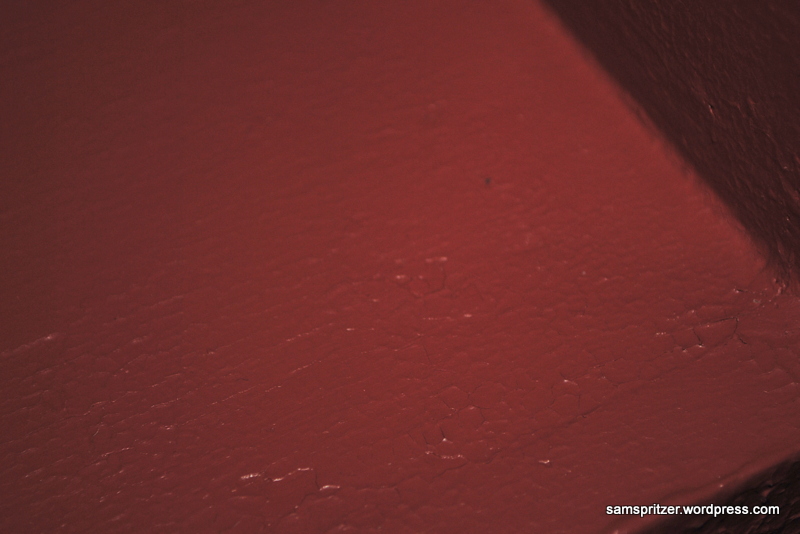
Aged wood look
The end result
The end result
And that concludes our little side project. Stay tuned for the next episode in the life of Sam Spritzer……